Tuesday, February 11, 2014

Some box car weathering

Initial dull coating and wash of thinned burnt umber.


Added some graffiti and some more burnt umber wash.


Finished!


Sunday, January 26, 2014

Some weathering with oils

 
After the NMRA meet last week I was so intrigued by the weathering method Allen showed us I went out and bought myself some oil paints to give it a try. Here are some progression pictures I have taken of my first attempt.
I started with some less expensive Athearn hopper cars in case I totally messed them up. Allen painted his own graffiti on his cars but I used some decals I had purchased at one of the recent train shows I attended. They look ok but I would not quickly use them on cars with defined ribs again in the future. Below is a picture after a dull coating and dust coloured airbrushing.
 
Next came a wash of thinned down Burnt Umber to dirty thing up.
 
After a day of drying the rib edges were highlighted with a burnt umber and burnt sienna mixture to make them more defined. The paint should still be thin enough to flow down the ribs. This is a different car as I was jumping from one to the next.
 
Here are the final results after defining more detailed rust spots.


Saturday, January 18, 2014

Blair-Line Church

It's been some time since I posted on the blog. I have been told there are a number of people who have been disappointed not to see anything new so here's my latest project.
It's a small wooden Blair-Line church kit. I wanted to put it on a hill so I made a little diorama for it and mounted it on top of a cliff. Here are a few pictures.


Monday, February 18, 2013

Heritage Furniture Kitbash

After a long break from working on the Lyn Valley & North Western, I have finally gotten back in the basement to do some modelling. I had (and still do) a large area of wall to fill behind my yard. Two Heritage Furniture kits have been sitting on the shelf marked for some of that space. The structure still needs some finishing touches but I thought I would share some pictures of it with you. I have used almost every piece of wall available and stretched it out to 5 feet in length. I painted the building a Krylon almond color. The pictures don't really show it but I then dry brushed it with a Ceramcoat Burnt Sienna which gave it an Angel Stone type of effect. The weathering is Bragdon dark rust and the whole thing was covered with an A/I wash.


Saturday, May 28, 2011

CP on the Lyn Valley & North Western

 Repairs are being made to the CP main line and 9122 has asked for passage rights across CN's main line through the Lyn Valley.


CP 9122 preparing to leave the yard.

Under way.

Passing the tower and the locomotive repair facilities.

 
Past the main office buiding and 9122 is almost ready to cross onto the main line.


Through the crossover and onto the main line finally.

Here 9122 is passing the Ethanol plant.


The site of this abandoned cabin would make a great place for a railfans cottage!


Lots of widlife to be seen along this stretch through the Lyn Valley.


Not a lot of activity at Inukshuk Mining today.


Crossing the trestle in front of Inukshuk Mining.


Through the tunnel and onto another towering trestle.


Prepaing to enter the snowshed at Cornelius Slide.


The bridges never seem to end in this part of the country.


Rumbling past Great Western Caboose Camping Adventures. This is a great spot for railfans who want to get away in a caboose for a week to do some camping, fishing and railfanning.


Saturday, January 15, 2011

Yet to be named Manufacturing

Dug out a kit I've been meaning to put together for a while now. The Atlas Middlesex Manufacturing Company. I had originally planned on kitbashing it into a background flat but the brick detail along the roof is different on the back of the building and I found a better spot to put it on the layout anyway.


I did'nt really care for the color of the kit so I painted it a light brown tan color. Here is a picture of the inside walls where you can see the original color on the right and the color I painted it at the top of the wall on the left.

After painting the walls I added "Roberts Brick Mortar Furmula". It turns out a little too cementy looking but a thin was of A/I later tones it down nicely. I painted all the windows and doors camo green.


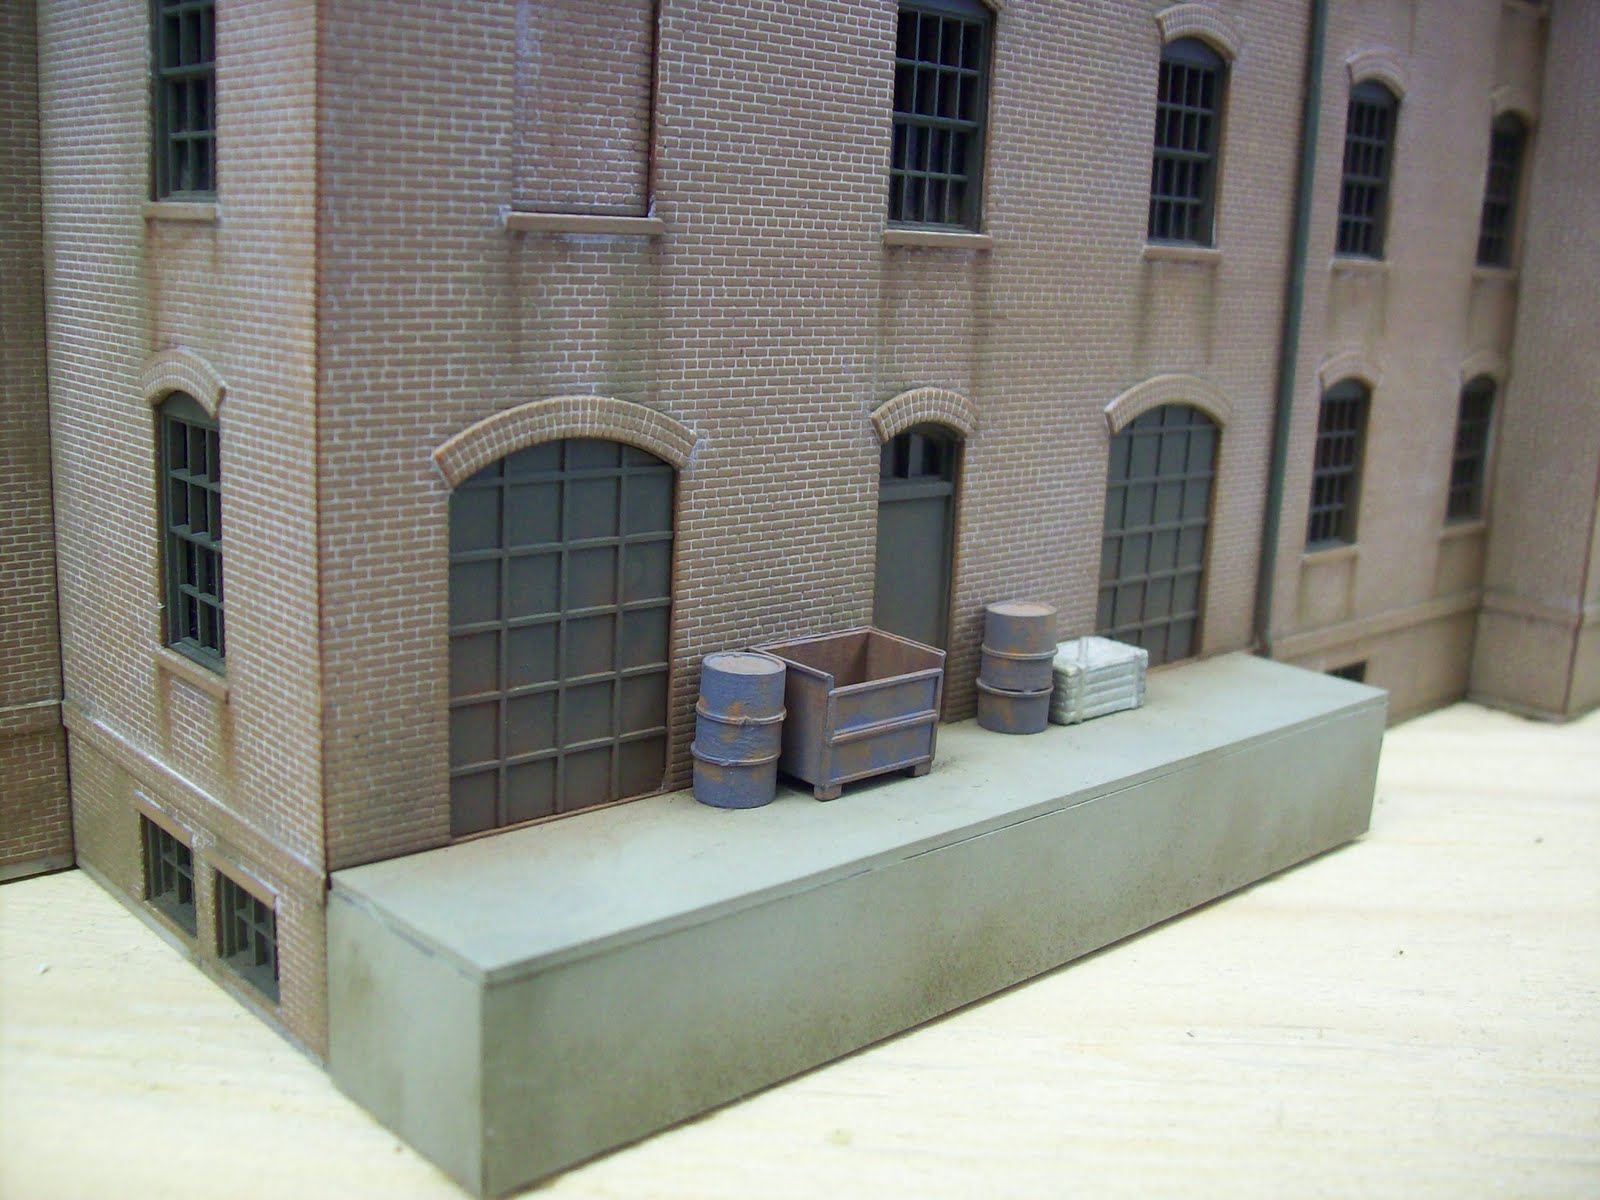
Here is the building after adding roof details, loading dock details and weathering. All I need to do is add some signs and give the building a name.